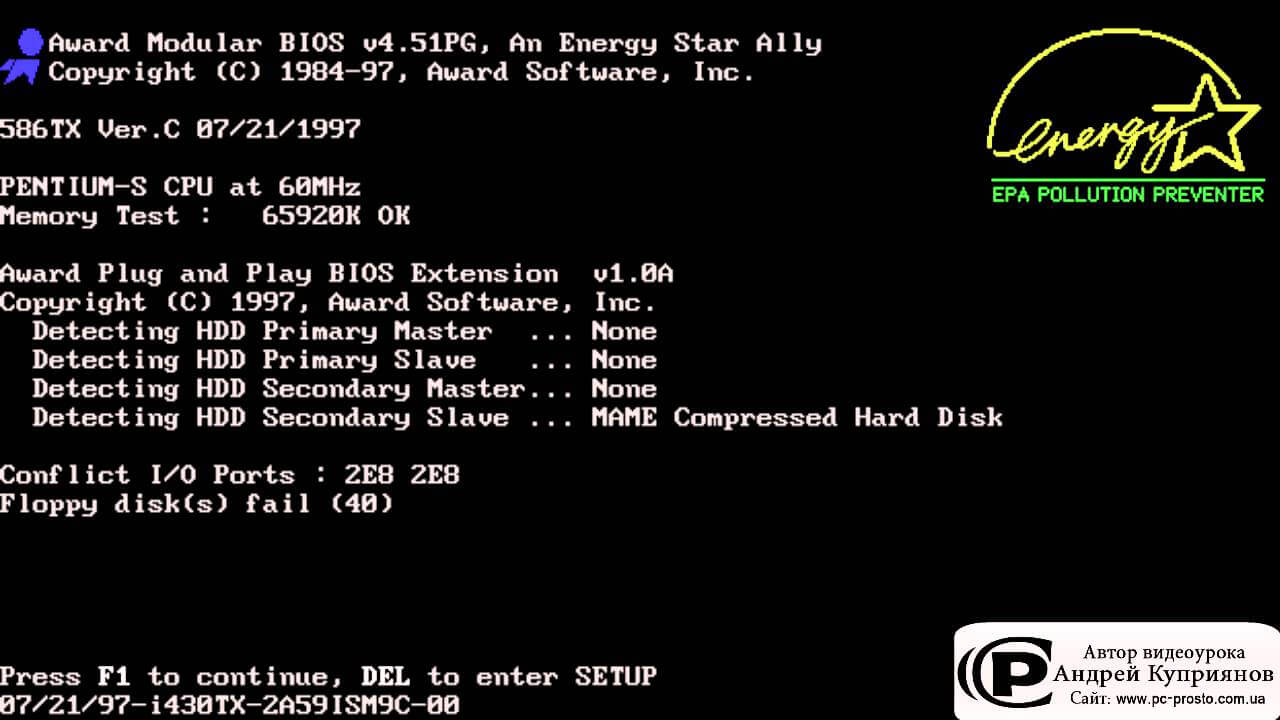
Who’s not familiar with this issue? I mean we all had a problem like that in the past but we’d usually ignore it and just press the F1 key and move on, it’s not a critical issue and we can all live without resolving it but some people just choose not to live with such an irritating problem.
In this post, I’m going to walk you through multiple solutions to resolve this issue.
Change BIOS settings
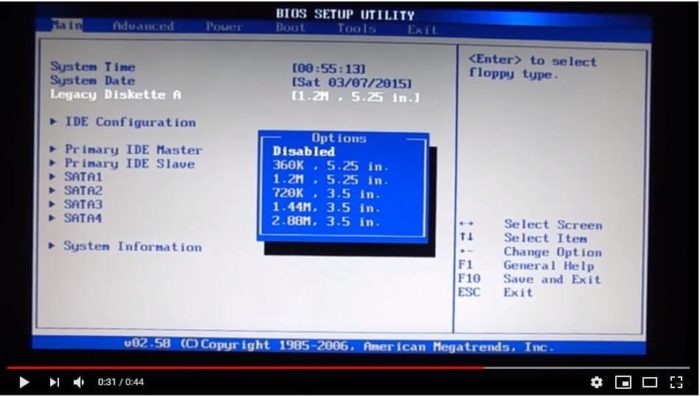
You can simply choose not to see this option ever again by changing the BIOS settings, here’s how to do it:
On the boot screen, you should press a key that’ll allow you to enter the BIOS settings, this key may be the Del key or any other key depending on your motherboard’s type, it’s right at the bottom, once you’re in go to the Boot tab then choose Boot Settings Configuration, you’ll see an option that says Wait for F1 if error, go ahead and set it to Disabled and that’s it you’re finished, easy, right? Keep in mind that the steps may vary from a person to another depending on you’re motherboard’s type like I said above but the concept is the same.
Check the image above for a better understanding.
Restore the default settings:
If you played around with the settings right before this issue showed up then this might be the cause, reset your BIOS settings and see if it works.
You can do that by reseating the CMOS battery or by simply going to the Exit tab and choosing Load Default Settings then it’ll ask to save the settings and reboot.
Disable the Floppy Disk:
If you don’t have a floppy disk drive then it’s recommended to disable it, especially when no one still uses it.
On the Main tab choose Legacy Diskette A then set it to Disabled, save the settings and exit.
Update the BIOS
Update or reflash the BIOS to the latest version by going to the motherboard’s manufacturer’s official site, follow the instructions provided by their site and be careful when you are doing this.
It’s not a common for a normal user to update the BIOS version, so it needs to be done carefully and choose the perfect time for updating the BIOS when there won’t be any chance for power cuts, so try to be careful and watch a many tutorials as possible on how to do this properly.
Replace CMOS battery
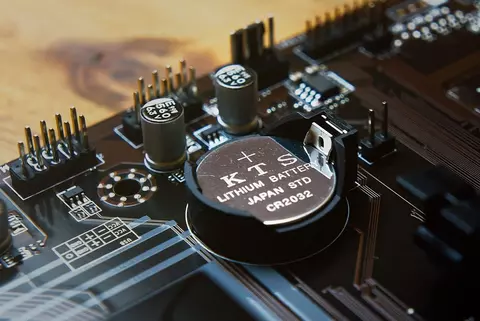
The CMOS battery is a small, circular shaped battery that is found on the motherboard of your computer. It backs up system settings for CMOS which are used to configure your laptop’s BIOS or boot sequence. The CMOS battery stores information related to your computer’s operating system, hardware settings, passwords, time and date information. It also stores information about your computer’s hardware configuration so it can keep track of how much memory you have installed in the computer.
After a while your CMOS battery may cause problems like this one, go ahead and reseat it or replace it with a new one, also consider that by reseating the CMOS battery you’re also resetting the BIOS settings.
Did you know that all CMOS Batteries will lose power? The CMOS Battery will lose power unless it is periodically refreshed. A new CMOS Battery can provide up to 10 years or more of life, depending on the age and type of battery.
Note: The CMOS battery is that silver rounded coin-like piece that’s mounted on your motherboard.
Check for hardware problems
This problem usually occurs because you have a failed hardware, read the message carefully to see what’s wrong and try to fix it.
Featured image source: https://www.youtube.com/watch?v=8DUArWK8aiU