
Hey guys, welcome to a new tutorial, in this article I’m going to show you how to use your Android phone as a Mic on your computer using your Wifi connection, in case you don’t have an expensive or a high-quality Mic to record a quick video or podcast, if it’s really cold and late at night and you can’t get out to get one or can’t wait for that Amazon delivery, don’t frown! because I got you covered :D, I know it’s not a novel, so Shawky cut the fluff and just get right into it.
OK OK, so I found out about this amazing yet simple software to transfer your magical voice to your computer, having a cheap mic won’t do the job because people want to listen to a clear voice and if they don’t they won’t hesitate to hit the back button of their browser and go listen to someone else, no matter what value or information you have in that video or podcast they will run away and go find someone else.
This software is using your Android phone and connects to your computer through 3 or 4 different options, WiFi, Direct WiFi, USB, and Bluetooth, but in this tutorial, I’m gonna focus on connecting through WiFi, maybe in the future I’ll update this post with one more option like USB I’m not sure, anyway, let’s find out about this software…
WO Mic:
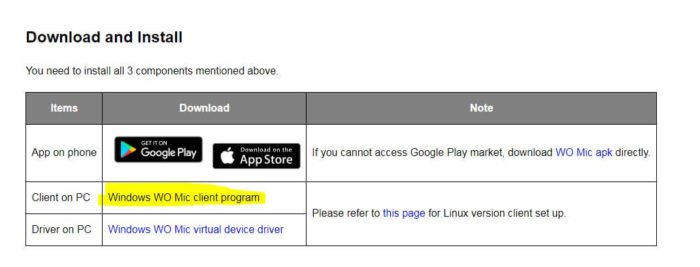
So the software name is WO Mic you can check their website here, this software is a two-piece software, one for your computer and the other for your Android phone, first, let’s install it on your computer…
Click on the highlighted link to download the software on your computer, after you install it which a self-explanatory process, go ahead and click the link below the highlighted one to install the software’s driver in order to make it work.
Some of you may face a problem like this one, check the image below, don’t worry it’s very easy to solve.
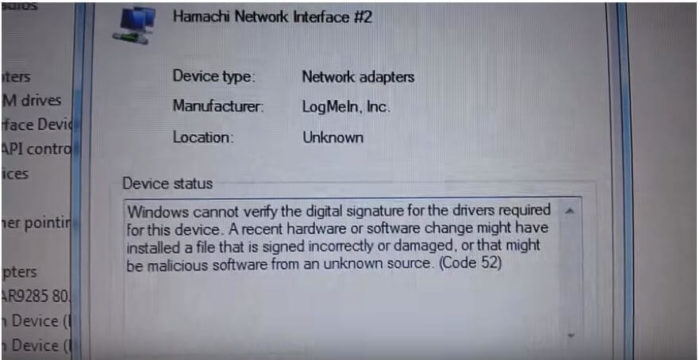
Check out this video to solve this small issue.
Once you’re done fixing the issue, move on to the next step which is installing the app on your phone, you can find the app on the homepage easily.
After that follow the images below in order to make the whole thing work together.
I’ve tested it on my Windows 7 computer so I can tell you that it’s working fine.
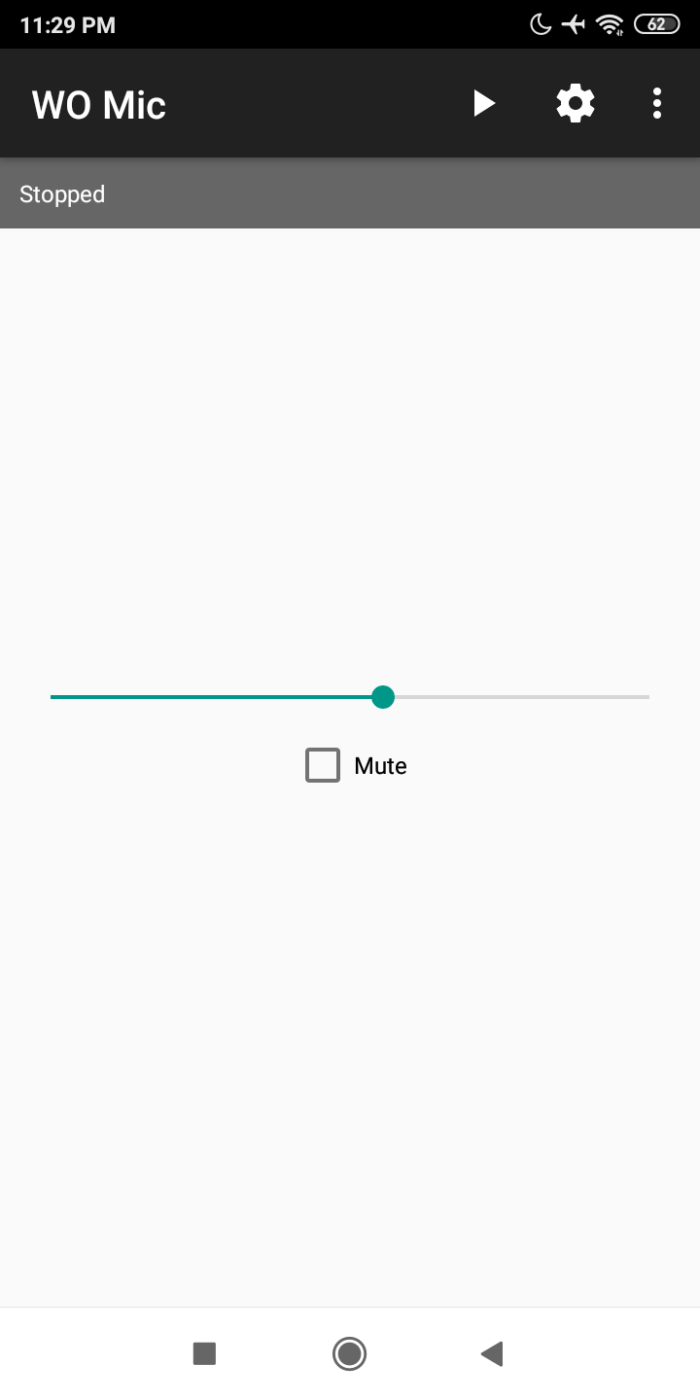
Tap the gear icon before starting the connection.
Then tap the transport option to choose your desired connection method which is WiFi in my case.
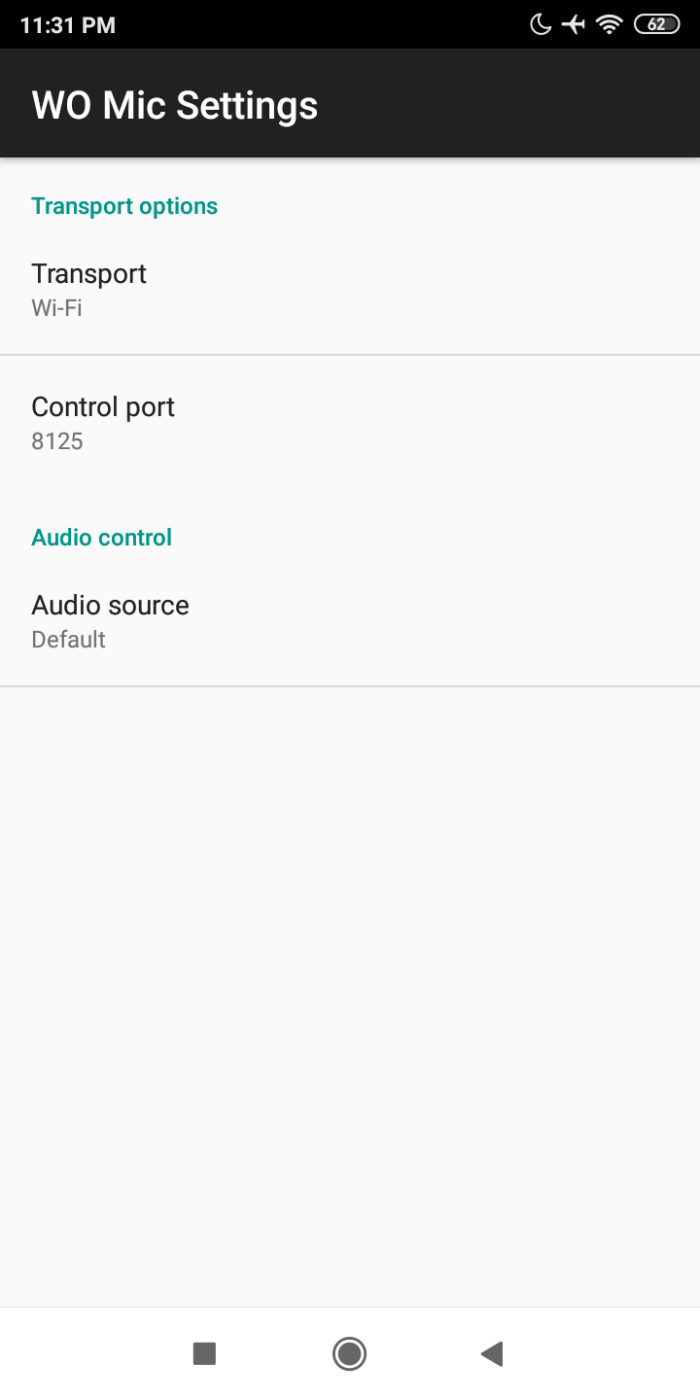
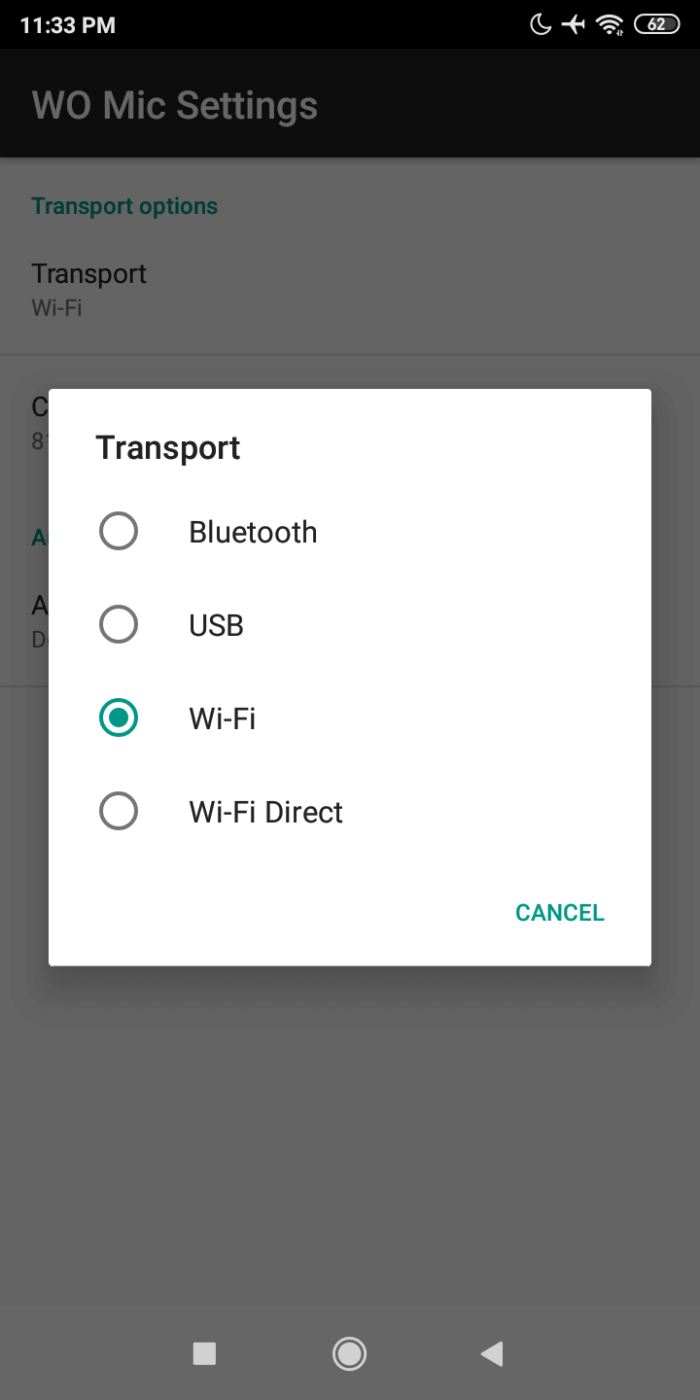
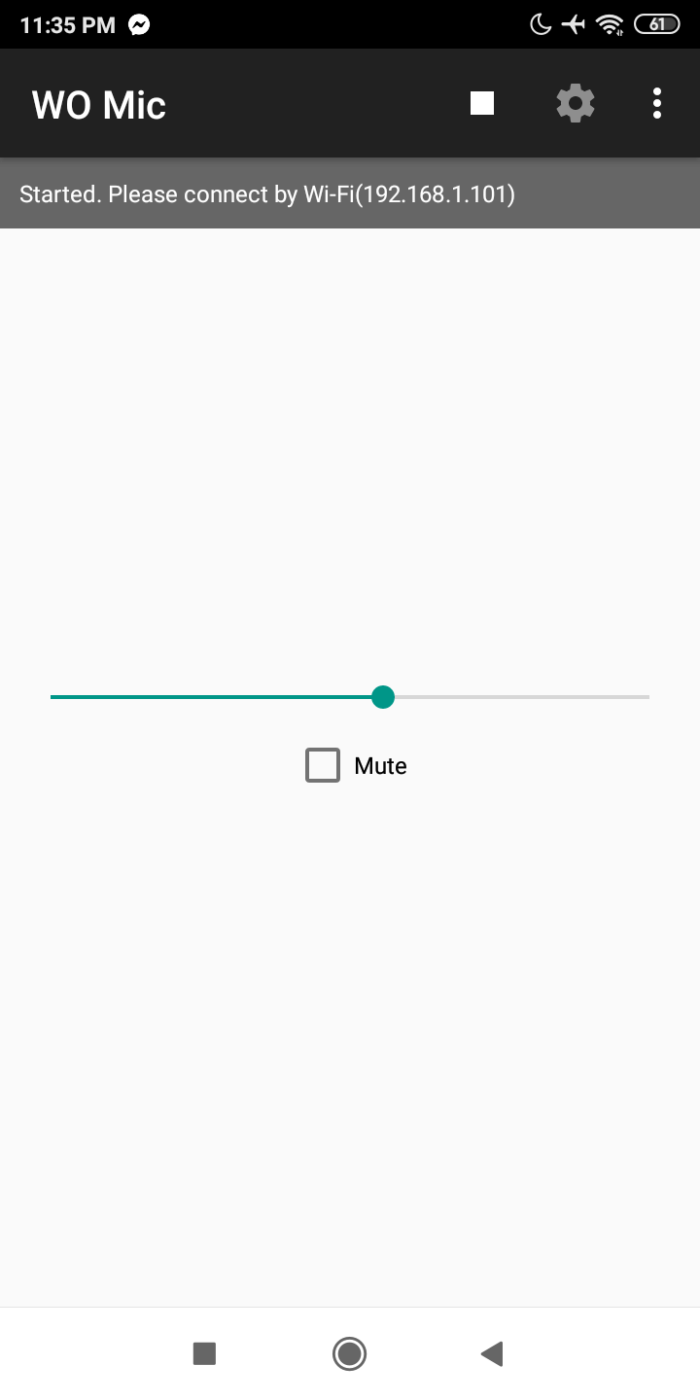
Tap cancel after you finish choosing, then go back and click the play icon to start the connection.
Have a look at the IP address below and make sure it’s the same on your computer
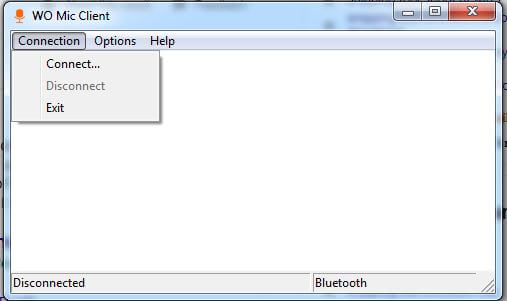
Head over to your computer and hit the connect option
First, choose the connection method (WiFi) and then make sure that the server IP address is the same on your phone and then hit OK.
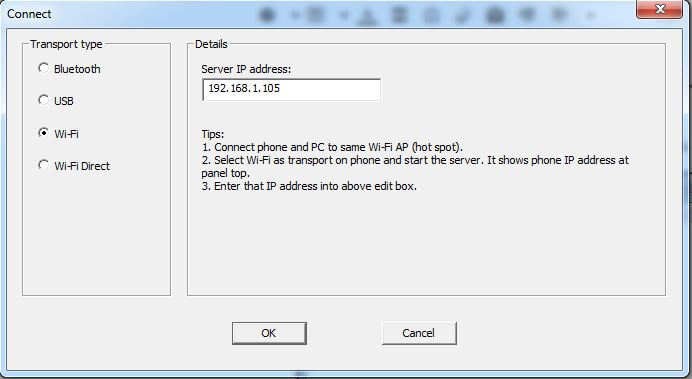
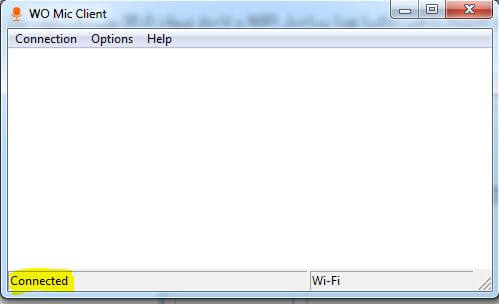
Voila! you should see something like this Connected
I’ll try to record a video soon to walk you through the process.
Finally, I hope you like this quick and short tutorial, if you have any questions please let me know below in the comments and I’ll be glad to help.